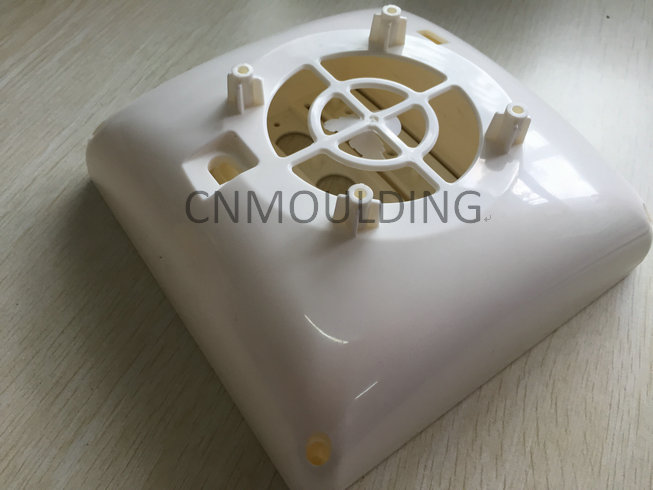
Mold acceptance

Mold acceptance process:
Mold manufacturing after the trial to go through several times. The general needs of small and medium mold test modes 1 to 3 times, large and medium-sized mold take 3 to 5 times. The structure of particularly complex mold try-out times maybe more. The number of test modes and the use of the equipment. Operating skills of craftsmen related to mold design, production quality. And other factors are closely related. At the same time, to a certain extent. It reflects the technical level of a mold factory. Most fully reflect the level of the mold is the last test sample provided by the sample. The sample is usually sent to the seller. To check the results as an important basis for mold acceptance. The sample’s basic size is correct or not to reflect the accuracy of mold manufacturing.
Therefore, in the acceptance process. We must first conduct product acceptance. The acceptance is carried out at least 16 hours after the plastic is formed or the required workup has been completed. Acceptance of the standard ambient temperature 232, relative humidity 506%, dew point temperature 21, atmospheric pressure 890 ~ 1060hPa, airflow rate 1m / s. If the actual environment is not standard. It can be carried out under the conditions agreed upon by both parties. Or the measured values are corrected by the corresponding coefficient of thermal expansion.
1,Product size inspection,
For a sample, we must first observe its overall shape is correct. The basic shape is consistent with product design. Then test the basic size of the product.
2, Plastic products with the size of the test
The fit size of the product refers to the size of the fit between the product’s inner-product. Or the product and the related component. Including the local fit size and the overall relative position size.
3,Assembly inspection
When the basic dimensions, dimensions, matching the size of the inspection concluded that the basic meet the design requirements. The test assembly can be tested. Which is the product inspection is a very important means. It can match the size of validation, validation of the space surface.
4,Product appearance inspection
When pre-installed to meet the requirements. The need for the apparent quality of the workpiece to conduct a comprehensive inspection. Then the apparent quality refers to the absence of common defects. The apparent quality is in line with the requirements.
The mold appearance
A mold placed in front of the first observation of its template machining level, straight template. The upper and lower surface is the flat grinding shape. Overall dimensions neat, four sides (2 ~ 5) mmX45 chamfer, will give a good impression. Even reminiscent of the mold processing quality must be superior. If the outer surface is rough and the stencils are out of alignment. It is hard to imagine such a mold capable of producing a high-quality product despite its inherent quality.
1. Die main parts size inspection
Plastic parts acceptance, the cavity size is correct or not has been basically confirmed. Other dimensions of mold tolerance need further examination.
2. The main structural parts of the situation
To ensure the mold structure of the moving parts, mold inserts, inserts, sliders, and moving parts in the normal work.
3,Injection mold material handling
In the mold design, the user can make special requirements for mold materials. Mold standard parts of the heat treatment can be carried out in accordance with national standards.
4,Wearing parts and spare parts
Each mold has its wearing parts, so in the mold factory. To be equipped with spare parts. Some non-standard parts require the mold factory to make two copies at the same time. in case of production plant replacement.
5. Cooling System
(1) Are all waterlines clean, unobstructed, and do they permit a full circuit flow?
(2) Is each of the water circuit working separately as designed?
(3) Is there water leakage?
(4) Are waterlines marked by IN or OUT with numbers according to mould design?
(5) Is the cooling connection to the injection machine correct?
6. Ejection and its guidance system
(1) Are all ejector pins and mounting holes numbered?
(2) Is the ejection system (ejectors, lifters and slides, etc.) of good function and moving freely?
(3) Validation of effective ejection stroke for proper taking off part.
(4) Is their oil leakage.
(5) Are guiding parts in lubrication?
(6) Is the side core system ( e.g. lifters, slides, and ejector pins, etc. ) in good guidance
(7) Is the length of the return pin correct?
(8) Is guide pin vented?


